Did you like the article? Share it!

Designing the perfect custom label for your customers is a very delicate and complex process and printing adds more hindrances to the creative process.
Examining your digital file from a prepress point of view is a crucial step in the label creation process. The customer has the final vision of his product but as a designer you must try to lead him in the right direction both in the choice of graphics, support and finishes, never forgetting the technical aspects of all these elements.
Having a technically perfect digital file is the starting point to obtain excellent results that satisfy your customer. To do so we have created a checklist that will save your time. Let's find out all the steps to follow to get a perfectly printable file.
1. Artwork size
When you start designing your beautiful label you need to have clear in your mind the dimensions of it. If you want to print a 50 x 50 mm (2" x 2") you need to create the canvas size or artboard with the final label size with bleed added (54 x 54 mm or 2.1" x 2.1").
2. Bleed
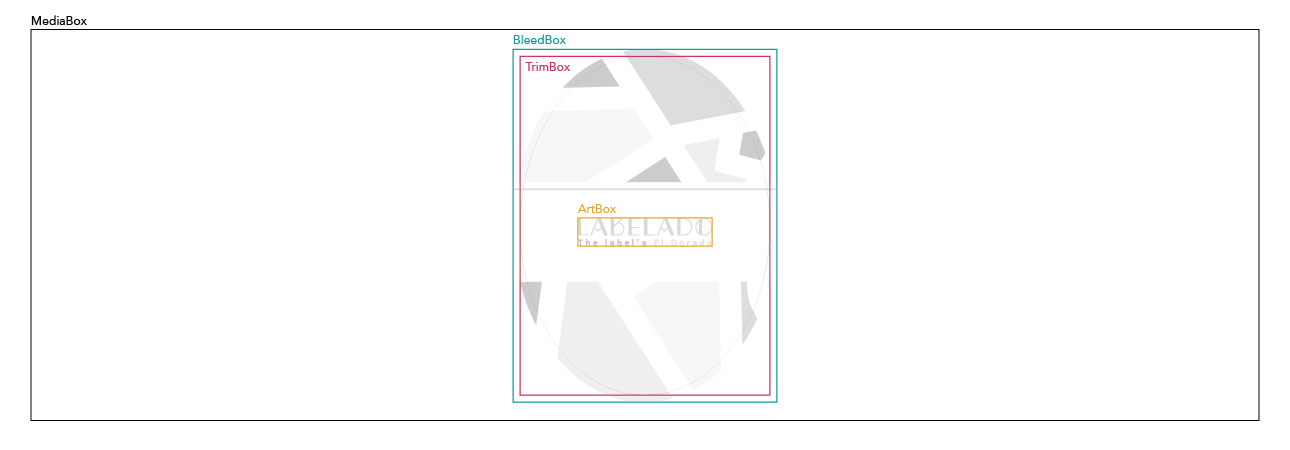
In addition to sizing your label correctly, you’ll also need to include a bleed in your design. Bleed is the extention of the background color, image, or design on each side of your label. Is should be about 2 mm or 0.1" on each side. Bleed ensures that your entire background is printed and does not get cut off during the printing process, where labels are cut out from the printed material.
If you want to print a 50 x 50 mm label the background should be at least 54 x 54 mm (2.1" x 2.1"). To know more about Bleed Box please check our article "What are Mediabox, Trimbox, Bleedbox, Artbox (in a PDF file)?".
3. Safe zone
All the text and design elements should remain within a safe zone to prevent these informations to be cut off during the printing process. You should consider at least 1 mm or 0.0625" of margin on each side of the label.
if you want to print a 50 x 50 mm label (2" x 2") the safe zone will be 48 x 48 mm (1.875" x !.875").
4. Image Resolution
The minimum resolution recommended for print is 300 dpi. When you embed an image in your artwork or you're working in Photoshop you need to be sure that all the images re at least 300 dpi. If you don't check it you may see your images blurry and pixelated. If you're working with TIFF images, black lines should be 1200 dpi.
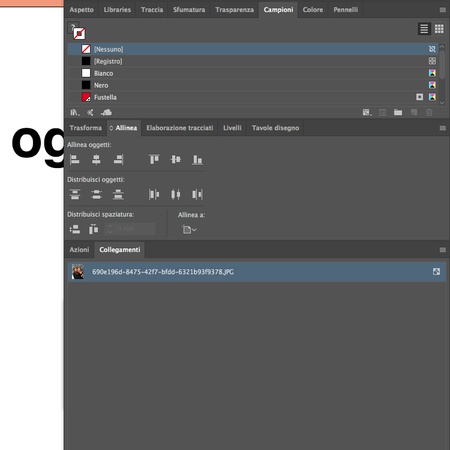
5. Embedded images
Talking about images, if you’re working in Illustrator, any images in your design should be embedded. Embedding imagesis really easy. To embed your images in Illustrator, simply select each one on your artboard and click Embed on your top toolbar. Save the file and you are ready to go!
6. Image Format
The images must be in TIFF, PSD (Photoshop) or JPG format in any colour mode – although CMYK is recommended. The RGB method is not compatible with the web and does not guarantee a great quality print. We can, however, convert them for you.
7. Color
Always remember to create you design in CMYK color mode. We can help you converting your file. However color and format-shifting are common when switching between color modes. To avoid surprises, design your label in CMYK color mode from the start. To ensure the reproducibility of certain Pantone colours, Labelado will convert (free of charge) your design into six colours. If this proves unnecessary, we stick to the CMYK colour process. To know more about CMYK color mode please check our article "What is CMYK? What is it used for (in the printing industry)?".
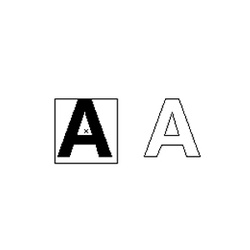
8. Outline font
Typography is a fundamental part of custom label design. That being said, all text needs to be converted to outlines otherwise there’s a risk the text will appear in a different font, or change in formatting when we open the file. When you outline your fonts, it locks them down or flattens them, so that they are safe for transport and will display correctly when printed.
Outlining fonts is super easy! To outline your fonts in Illustrator, select all of the text in your designs, then go to the Type menu and select “Create Outlines.”
9. File type
The best file format for sharing is PDF. PDF is a widespread and universal cross-platform file format which means that you can save your file PDF from preatty much any platform or software (Adobe Illustrator, Adobe Indesign, Adobe Photoshop or any software which is capable of printing a file) making it very accessible for anyone using a computer. To know more about this file format please check our article "What is a PDF? And what it is used for?".
10. Spotwhite
If you choose to print on a clear or metallic material, you’ll need to include a spotwhite layer in your artwork file. The spotwhite layer communicates to us what areas you want to be opaque or white, and which areas you want to be transparent or metallic.
Mistakes happen all the time, we get it. In fact, proofreading is always to key to prevent errors. A misspelled ingredient can make all the difference in whether or not someone will purchase your product.
Proofreading the copy on your label should be done again and again, and by several pairs of eyes. Double-check all the elements of your label by using this simple checklist before sending files to your printer. It will save your labels and you money,
Ensure your label design file is perfect thanks to our little tips. And don't worry, if you overlook anything, our team of experts will take care of it.
Once you have uploaded your file, we take care of the rest! Our free prepress service includes one of our operators verifying that everything is perfect, checking all the technical aspects regarding file format, image resolution and colours. You still have the final yes, as you need to approve the file before going to print.
Happy designing!
Related post
Learn more
May 26, 2022

May 27, 2022