
Did you like the article? Share it!
Digital image editing is a fundamental part of the knowledge that a graphic designer must-have. From photo editing to resizing or changing resolution, it is important to know how to manipulate images without them losing quality. A grainy or even worse pixelated photo would immediately give an unprofessional impression of your work, so let's see together how to resize an image in Photoshop and what strategies to adopt to maintain quality.
Why resize an image?
First, let's start by answering this question. Why resize an image? Any image that happens to us, which has been acquired with a camera or which has been downloaded from the internet, will hardly be of the right format and resolution for our work. So the first thing to do is to modify our image according to our needs.
When you share an image online, for example on social networks such as Facebook and Instagram, we are faced with some limitations on the formats and dimensions of the images, therefore it is necessary to resize them, both in width-height and weight. In particular, when it comes to websites, it is necessary to make the images as light as possible to facilitate their loading. Google itself suggests that images don't have to weigh a lot; we are talking about dimensions that are around 50 Kb.
The resolution also varies according to the areas, for example in the web world the minimum resolution required is 72 PPI, while in printing it is 300 dpi, so an image must have the correct resolution depending on where it will be used. If we have a high-resolution image available that, however, must be inserted on a website or blog, it will be necessary to resize it by reducing its resolution and size. On the contrary, if we have an image that we want to print, whose resolution is too low for the required size, we will have to resize it to bring it to the appropriate resolution, with some small adjustments.
How to change the resolution of an image?
Sometimes intervening in the resolution of an image can be difficult, but there are some small tricks that can help you get a better result. We are talking about resampling, a feature proposed by Adobe Photoshop, which allows you to act on the number of pixels present in an image.
It can be used to reduce the resolution of an image, in order to make it lighter, but also to increase it. From a technical point of view, it modifies the information on the underlying pixels; for example, if an image is reduced, any unnecessary information on the pixels is removed, while if it is enlarged, new pixels are created based on the existing ones. This is a good compromise to overcome the problems of the resolution, even if in reality this function does not generate new details in the image.
There is a wide variety of software dedicated to image editing, some are free, some for a fee, some are available online and easier to use, and others are more professional that require more skills. Almost all of these tools offer basic functions including resizing, in terms of format, but only the most professional ones allow you to intervene in the resolution of the image, to make changes while limiting the loss of quality. Let's see some of them!
Resize an image Online: Adobe Creative Cloud Express
Let's start with software available online. However, this is an Adobe program dedicated not only to professionals but to anyone who wants to approach graphics or needs to modify an image. We are talking about Adobe Creative Cloud Express.
This tool allows you to resize images in seconds to adapt them to social media, or the web. There is no need to download and install any software because it is always available online, and most importantly it is free.
How to do it? Just upload your file, select the size you want (standard formats will also be offered, based on the use you are going to make of the image, eg. Instagram, etc) and finally, download your resized image. Remember, however, to do so you must be registered on the site, so check that you are logged in or if you do not have an account yet, register
The application is also available for mobile and tablet and also offers many other functions besides resizing. It allows you to create high-impact content starting from thousands of models in a simple and fast way. So, you just have to experiment and express your creativity by exploring all the photo editing and design features that Adobe Express has in store for you.
.jpg?width=1839&name=001_img%20(1).jpg)
Note: it does not allow you to change the resolution of the image.
Resize an image in Photoshop in a professional way
With Adobe Photoshop, the editing program par excellence, it is possible in a few simple steps to resize an image without losing quality. Let's see how to do it together!
Process:
Open Photoshop and upload your image. Then, from the top menu click on Image > Image Size. A window will open from which you should go to set some parameters for resizing. From here you can check, thanks to the preview box, how the modifications of the active parameters on your image are; to view a different area of the image, just drag and drop the preview.
.jpg?width=937&name=001_img%20(2).jpg)
Now you will have to go and change the Width and Height values of the image; to keep the original ratio between width and height, make sure the Constrain Proportions option is active. To change the size or resolution of the image and have the total number of pixels adjusted in proportion, check that Resample is selected. While, to change the size and resolution of the image without changing the total number of pixels in the image, deselect it. At this point, the new file size will appear at the top of the window; those in brackets, on the other hand, are the previous ones.
.jpg?width=993&name=001_img%20(3).jpg)
The feature we were talking about earlier to increase the resolution of an image without losing too many details is I; therefore, make sure to always activate it by checking the box. There are several resampling options, which you can choose according to your purpose. the one we recommend using is Preserve Details 2.0, which works well for both enlargement and reduction.
Once you have set all the necessary parameters, just click on Ok to apply them to your image. and proceed to the final save. Remember that the format chosen for saving the image can also determine the final weight of your image.
Image compression formats (BMP, TIFF, JPG)
To maintain good image quality, but to prevent it from taking up too much space, compression comes into play. There are formats, such as TIFF, that do not require compression and keep all the pixels present in an image. These formats are ideal if image quality and perhaps printing are the priority. If, on the other hand, you want to reduce the size of the file, you can decide to use a compression format such as JPG, which maintains the physical dimensions of an image and reduces the space it occupies on the disk but must be done carefully, because it must be to sacrifice image quality and sharpness.
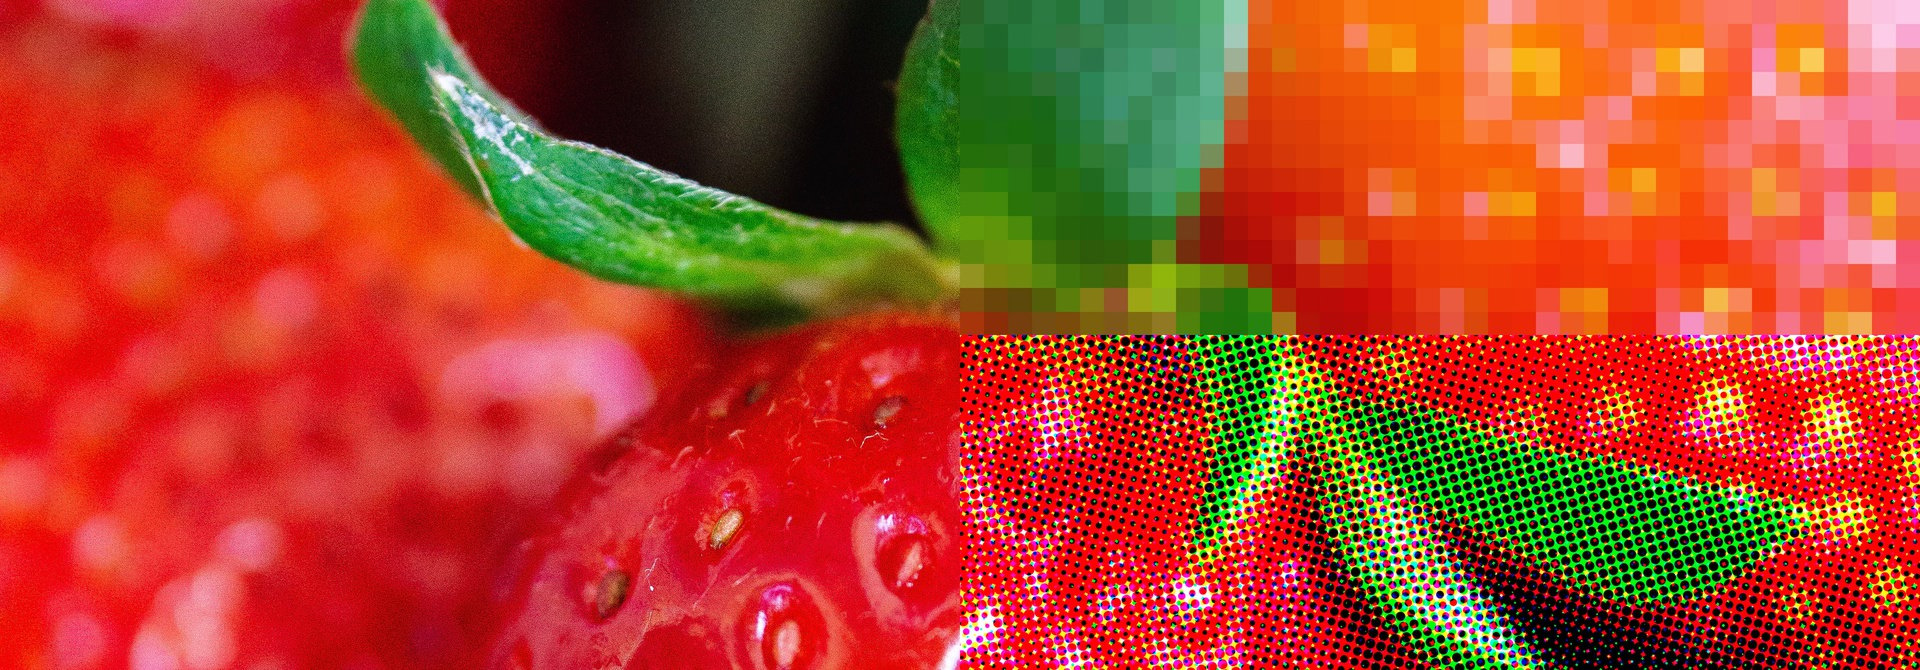
When the resolution of an image is too low, unfortunately, there are not many tricks, for this reason, it is important to always try to acquire images at the highest resolution possible, and also be careful when downloading from the internet to choose those with an adequate resolution.
It is also important to carefully evaluate what you need; if you have to go to print, the space that the image occupies will certainly not be your priority, so don't compromise on quality to reduce its size. If, on the other hand, you work in the world of the web and social media, having a very high resolution is not so essential, not at the expense of the weight of your file.
Related post
Learn more
Jul 12, 2022
Jul 19, 2022
Sep 17, 2019